Hot-Swap Mechanical Keyboards and Custom Keycaps: A Practical Guide
A few years ago, changing the feel of your keyboard meant buying an entirely new one. Today, a growing share of mechanical keyboards ship with hot-swappable PCB sockets, which means you can pull out the factory switches with a small tool and drop in different ones — no soldering iron required. Pair that with a set of custom keycaps and the same board can go from a quiet office typer to a loud, tactile gaming board in about twenty minutes. This guide walks through what hot-swap actually means, how to pick switches, how keycap profiles and materials differ, and what to watch out for before you start pulling parts off your board.
What "hot-swappable" actually means
On a traditional mechanical keyboard, each switch is soldered directly to the printed circuit board. Replacing a single switch means desoldering it, which is fiddly and easy to get wrong on a dense board. A hot-swap PCB instead uses small spring-loaded sockets under each key position. The switch's pins simply press into the socket and make an electrical connection — you can pull it back out with a switch puller and put in a different one, live, with the board plugged in or not. Most hot-swap sockets support either 3-pin or 5-pin switches, and better boards support both by having extra pin channels for switches that don't use the two plastic stabilizer legs.
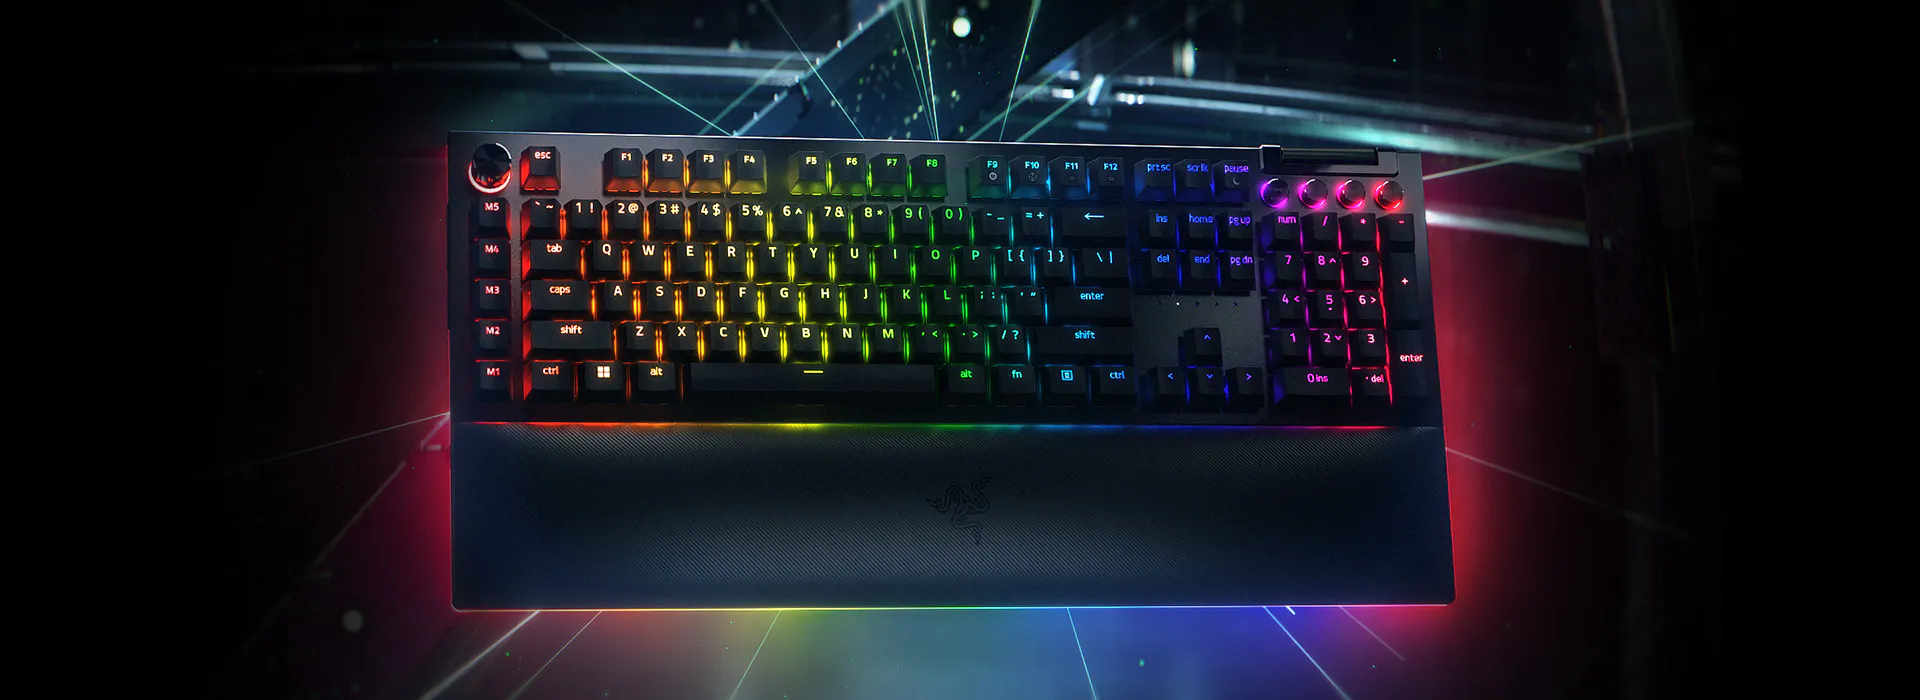
Not every keyboard billed as "customizable" is actually hot-swap. Some only offer swappable keycaps while the switches remain soldered — always check the product page or manual specifically for hot-swap socket support before assuming you can change switches. The Razer BlackWidow V4 Pro, for example, ships with Razer's own Green or Yellow switches pre-installed but uses hot-swap sockets, so those can be pulled and replaced with third-party switches from other manufacturers without voiding normal use of the board. You can check its full spec sheet on the BlackWidow V4 Pro product page.
Switch types: linear, tactile, and clicky
Before buying replacement switches, it helps to know the three broad families, which we cover in more depth in our dedicated switch guide. Linear switches move straight down with no bump and no click — quiet-ish and fast, popular for gaming. Tactile switches have a small bump partway through the keystroke that you can feel but not hear, giving feedback without the noise of a clicky switch. Clicky switches add an audible click alongside the tactile bump, which some typists love and open-plan offices generally do not.
When shopping for hot-swap replacement switches, pay attention to three numbers: actuation force (measured in grams, lower means less finger effort), actuation distance (how far you press before the keystroke registers), and total travel distance. Light linear switches with a 35-45g actuation force suit fast typists and gamers who bottom out quickly; heavier switches around 60-70g suit people who tend to rest their fingers on keys and want to avoid accidental presses.
Buying switches: what to check before you order
- Pin configuration — 5-pin switches have two extra plastic legs for stability and need a PCB with cutouts for them. Most modern hot-swap boards accept both 3-pin and 5-pin switches; older or cheaper boards may only take 3-pin.
- Housing material — nylon housings sound and feel slightly softer and warmer than polycarbonate, which tends to sound sharper and more "clacky." Neither is objectively better; it's a matter of preference and matches the sound profile you're after.
- Factory lubrication — some switches ship pre-lubed from the factory for smoother, quieter travel. Unlubed switches are cheaper but benefit from manual lubing, which is a rabbit hole of its own involving thin brushes and switch openers.
- Stem material and spring weight — POM stems tend to feel smoother than the more common ABS or nylon; spring weight determines actuation force and can be swapped independently of the switch housing on switches designed for modding.
Buy a switch tester if you're new to this. A nine or twelve-switch sampler with a range of linear, tactile, and clicky options costs very little and saves you from ordering a full set of 70+ switches for a board only to discover you dislike the feel.
Custom keycaps: profiles, materials, and legends
Keycaps affect both feel and sound almost as much as the switch underneath them. The two dominant materials are ABS and PBT. ABS is smoother out of the box, cheaper to produce, and takes vibrant colors well, but it develops a shiny, slippery patina after months of finger oils wear it down. PBT is more textured, more durable, and resists shine far longer, though it typically costs more and has a slightly more limited color range for some manufacturing methods.
Profile refers to the keycap's sculpted shape and height. Cherry profile is low and moderately sculpted, matching the original IBM/Cherry design most people are used to. OEM profile is a bit taller. SA profile is tall and heavily sculpted with a spherical top, giving a very different, more retro typing feel and a distinctive sound signature. Switching profiles can also change how comfortable the board is at different desk and wrist angles, so it's worth trying a friend's board or a keycap sample before committing to a full set for an ergonomic setup.
Legend printing matters more than people expect. Dye-sublimation and double-shot molding both produce legends that won't wear off, while pad-printed or laser-etched legends on cheaper sets can fade within a year of daily use. If you're buying a set specifically because you like a colorway, double-shot PBT is the safer long-term investment.
Putting it together: a simple mod workflow
Start by removing the keycaps with a keycap puller (a wire puller is gentler on the keycap's sides than the ring-style plastic pullers that ship with some boards). With the switches exposed, use a switch puller to unclip each one from its hot-swap socket — most pullers clip onto the two sides of the switch housing and let you pull straight up. Insert the new switch by aligning the pins with the socket holes and pressing straight down until it clicks into place; misaligned pins are the single most common cause of a "dead key" after a swap, so check alignment carefully before pressing.
Test each key with the board plugged in before reinstalling keycaps — most keyboard configuration software includes a key tester that lights up or logs each press, which makes it easy to catch a switch that didn't seat properly. Once everything registers correctly, press the new keycaps on and you're done. If you're aiming for a specific sound profile — the deep, rounded "thock" some enthusiasts chase — foam dampening between the PCB and case plus lubed stabilizers usually matters more than the switch choice alone, though that's a more involved mod for another day.
Is it worth doing on a budget board?
Hot-swap has trickled down from enthusiast boards costing $200+ to budget options under $60, and the mod itself costs very little if you buy a modest switch sampler and a mid-range PBT keycap set. For anyone who spends most of the workday typing, it's one of the highest value-for-money upgrades available for a desk setup — you get to tune actuation force, sound, and feel to your exact preference without replacing the whole keyboard, and you can always revert to the stock switches if you change your mind. For further reading on how the keyboard market is trending toward more of these hobbyist-friendly features, see our 2026 mechanical keyboard market update.